There are many reasons to want to record what’s happening on your screen. Perhaps you want to create a tutorial or demo, upload a gaming clip, or record online content that can’t be downloaded easily. Whatever your reasons, the best screen recorders for Windows can help.
There are a ton of screen recording tools to choose from, but they don’t all offer the same functionality. Some offer better value for money than others and pack additional features to help with things like editing and converting, while others fall short on basic features.
In this post, we reveal our top picks for the best screen recorders for Windows 10 and answer some common questions about the tools. We’ll go into more detail about each of the tools we recommend later, but in case you’re short on time, we’ll start with a quick summary.
Best Screen Recorders for Windows 10:
- VideoProc Converter AI: A low-priced suite of editing tools, including an HD screen recorder, converter, editor, downloader, and AI video quality enhancer. Includes a 30-day money-back guarantee.
- Screencast-O-Matic: An easy-to-use freemium software with a feature-rich paid version.
- Camtasia: A pricey but advanced tool with plenty of editing options and great sharing features.
- OBS Studio: Ideal for gamers looking to live stream, this open-source software is completely free.
- Flashback: Both the free and paid versions are easy to use and allow for scheduled recordings.
- ShareX: An advanced image capture tool that includes a solid screen recorder.
Disclaimer: We do not encourage or condone recording or distributing copyrighted content unless you have permission from the copyright holder or distributing platform.
How we selected the best screen recorders for Windows 10
Selecting the right screen recording software can be tough with so many options to choose from. To take the guesswork out of it for you, we’ve used and tested a whole heap of screen recording tools and only recommend those that meet the following criteria:
- Comes with lots of built-in features
- Provides easy-to-use apps and an intuitive interface
- Can handle a selection of formats for export
- Allows for easy sharing
- Offers good value for money
The more of these features the software excels in, the higher it comes on our list, So with that in mind, let’s take a closer look at the screen recorders that impressed us.
See also: Best video-editing software for beginners
Best screen recorders for Windows 10
Here’s our list of the best screen recorders for Windows:
1. VideoProc Converter AI
(Windows, MacOS)
VideoProc Converter AI is the best screen recording tool for Windows. It’s an intuitive, easy-to-use editing tool with a ton of advanced features, including an excellent screen recorder. The recorder lets you record your screen (the entire screen or a selected area) or webcam footage in a variety of formats, including MP4, FLV, MOV, MKV, and TS. Also, it gives flexible control over the recording quality, FPS, and audio settings on your Windows PC. You can add annotations and highlights and pause or resume freely while recording too.
Aside from a screen recorder, you get a full suite of video editing options, including file merging, subtitles, and effects. There’s also a video converter with over 400 supported formats. This service has recently added several AI-powered tools, allowing it to upscale your videos to 4K, boost your recording’s FPS, and fix shaky/noisy/interlaced videos automatically.
Pros:
- Intuitive interface
- Plenty of advanced features
- Smooth performance
- Supports all popular formats
- Low price
Cons:
- May not be simple enough for some users
Price:You get access to the full version of VideoProc Converter AI for $25.95 per year or $45.94 for a lifetime license. Plans come with a 30-day money-back guarantee and a seven-day free trial.
2. Screencast-O-Matic
(Windows, MacOS, Chromebook, iOS)
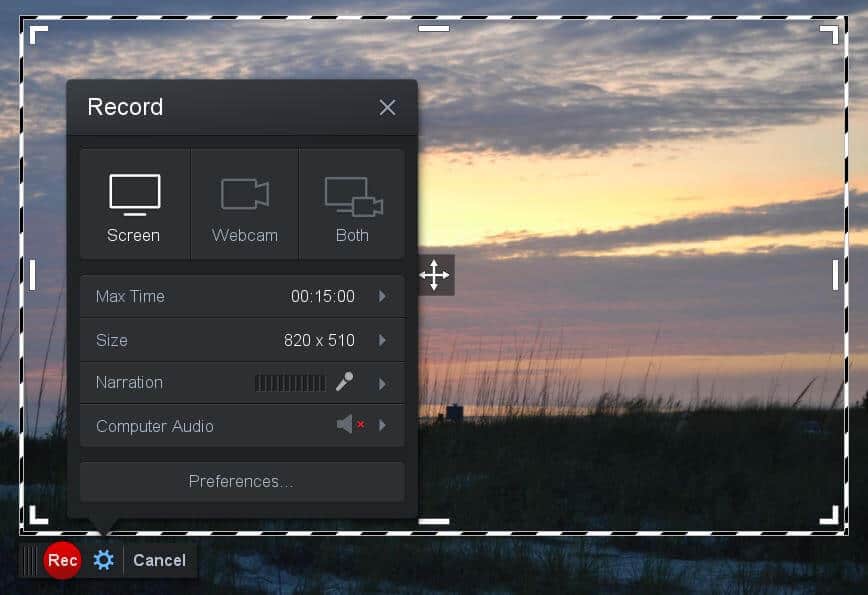
Screencast-O-Matic is a simple screen recorder that has free and paid versions. The free version allows you to record up to 15-minute videos but you’ll have to opt for a paid plan for unlimited-length recordings.
Other features of the free tool include recordings of full screen, windows, or webcam, zoom options, trimming, captions, and a selection of 30 music tracks. Videos can be saved as AVI, MP4, or FLV files. You can publish to YouTube and share to Facebook, Twitter, and Google Classroom. Note that videos made under the free plan will have a watermark.
Depending on which plan you go for, upgrading to the paid tool gives you unlimited recording, an expanded music library, system audio recording, additional sharing tools, lots of video editing options, and more.
Price: The Basic plan is free, but you can add video editing tools with the Deluxe plan for $1.65 per month (billed annually) or go for the Premier plan with additional features for $4.00 per month (on an annual basis).
Pros:
- Easy to get started with
- Reasonably priced
- Paid options have plenty of powerful features
Cons:
- Free version is limited
3. Camtasia
(Windows, MacOS)
Camtasia is the priciest screen recording tool on this list but it does pack a ton of powerful features. If you’re looking for something a bit more advanced, then it may be worth the investment. You can test it out for free for 30 days, but trial period videos have watermarks.
Even though there are more bells and whistles to grapple with, Camtasia is surprisingly easy to use, so you can start recording professional-looking videos in no time.
Features of the screen recorder and built-in editor include microphone or system audio, partial screen, full screen, or webcam recording, annotations, transitions, cursor effects, and animations. There’s also an extensive library of icons, intros, lower thirds, motion backgrounds, music tracks, and outros, and you can download more from the web.
Camtasia can handle over a dozen input formats (if you’re importing videos for editing) and offers several output formats: MP4, AVI, MWV, GIF, and M4A (audio only). It’s easy to share to sites such as Screencast.com, Vimeo, Google Drive, and YouTube.
Price:A Camtasia license costs a one-time fee of $249.Pros:
- Quick learning curve
- Set up for easy sharing
- Packs a ton of features
Cons:
- Expensive compared to others on the list
4. OBS Studio
(Windows, MacOS, Linux)
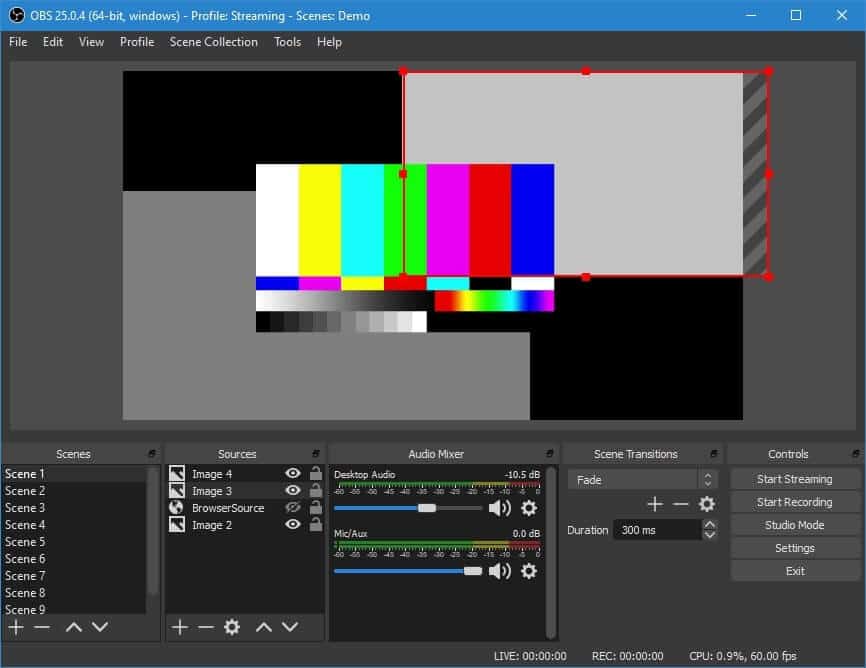
OBS Studio is a great option if you’re looking for a feature-rich screen recorder but you’re on a very tight budget. In fact, you won’t have to pay a penny for this software, and you can record videos of unlimited length with no watermarks. There are no ads or upsells either, which is very rare for free software.
This software is hugely popular with gamers looking to live-stream to sites like YouTube Live, Mixer, and Twitch. Features include the option to record the entire screen or a chosen section, customizable hotkeys, and screencasting. You can save in various formats, including MP4, MKV, FLV, MOV, TS, and M3U8.
One of the trade-offs is that OBS Studio isn’t the simplest tool to use. There’s an auto-installer wizard to help you with settings, but it still might take some time to navigate the client. Another downside is the lack of an editing tool — you’ll have to find additional software if this is something you need.
Price: OBS Studio is a free and open-source software (sponsored by Twitch, Facebook, and Nvidia), but you can donate to the project if you wish.
Pros:
- Good selection of formats
- No length limit or watermarks
- Completely free
Cons:
- Bit of a learning curve
- Doesn’t include an editor
5. Flashback
(Windows)
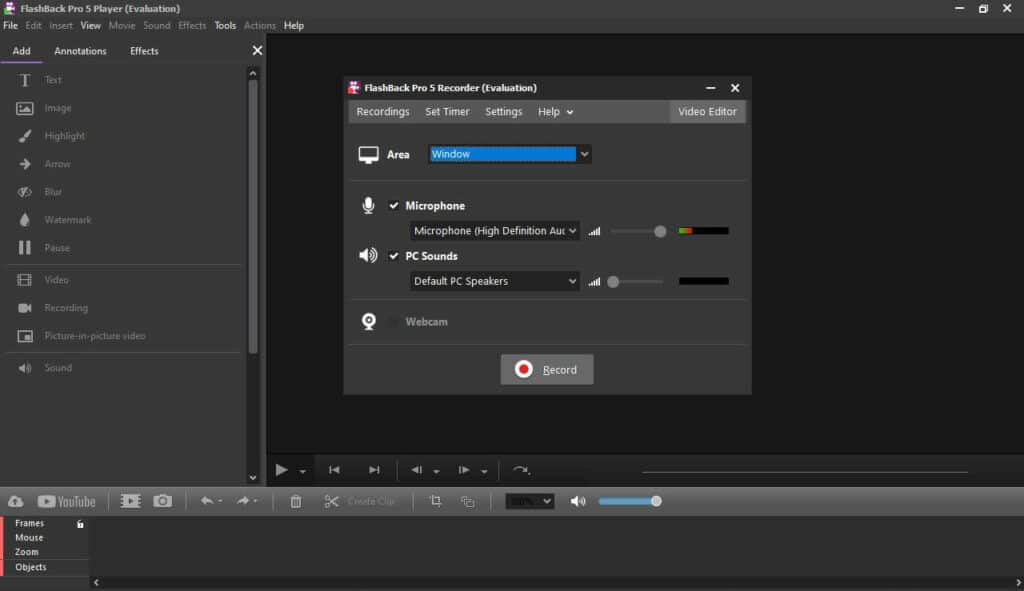
Flashback has two separate screen recorders, one free (Flashback Express) and one paid (Flashback Pro).
The Express recorder is very intuitive and is fairly robust for free software. It enables you to record your screen (partial, full, or window) or webcam and microphone or PC sounds. You can record multiple monitors and schedule recordings. There are no time limits or watermarks which is unusual for the free tier of freemium software. You have the option to save in a few different formats (MP4, AVI, or WMV) and upload to YouTube.
While the free version is great for recording, if you want to do any kind of editing, you’ll need the Pro software. This version is a little tougher to get the hang of but includes lots of features. You’ll have access to frame-by-frame video and audio editing, merging, movement correction, titles, annotation, effects, password protection, and additional format options.
The Pro price is very reasonable and you can test it out with a 10-day free trial. Just note that during this period, your videos will have watermarks, and you won’t have technical support.
Price: Flashback Express is completely free. The Pro version costs $49 for a lifetime license for one PC or $74 for two PCs.
Pros:
- Can schedule recordings
- Free version has unlimited time and no watermarks
- Pro software is decently priced
Cons:
- No editing in free version
- Limited sharing in free software
6. ShareX
(Windows)
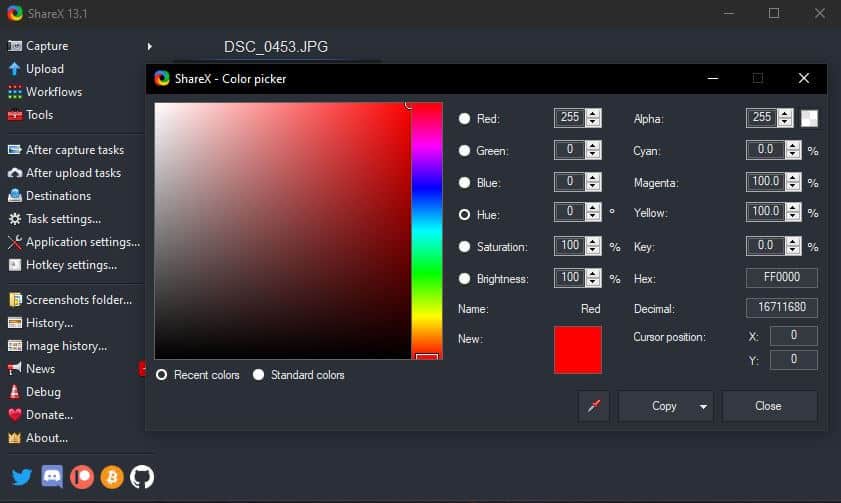
ShareX is a lightweight, free tool with lots of functionality. It’s a little clunky in terms of design so it takes a bit of getting used to. ShareX is geared more towards image capture and editing so although it includes a great screen recorder, you won’t find a ton of video editing options.
The screen recorder includes customizable hotkeys and allows for full-screen, partial-screen, or active window recording. You also have the option of scheduled recordings and scrolling capture. Other tools include a color picker, image editor, and video converter.
True to its name, ShareX offers a ton of sharing options with easy distribution to over 80 sites including YouTube, Twitter, and Google Drive.
Price: ShareX is open source and free but accepts donations.
Pros:
- Decent screen recorder
- Includes video converter
- Lots of sharing options
Cons:
- More focused on image capture
- Not the easiest to use
What to look for in a screen recording tool
When selecting a screen recording tool to suit your needs, be sure to consider the following things:
- Ease of use: Choose something simple and intuitive. No matter how advanced your skills, you don’t need overly complicated software that will slow down your workflow.
- Features: Think carefully about what you want to use the tool for – such as simple screen recording vs video editing – and then ensure that the software you choose offers the features you need.
- Resolution: This determines the clarity and quality of the captured content. High-definition output ensures that details are preserved and visuals are sharp improving the experience for the viewer. However, opting for the highest resolution might not be a priority for all users.
- Output: Opt for a tool that supports a range of file formats, such as MP4, MOV, and GIFs, to ensure flexibility in sharing and editing recorded material across various platforms and devices.
- Price: There are screen recording tools for all budgets, so you don’t have to spend a fortune to get good software. Compare the prices of each of the tools we’ve listed, consider whether the free tiers are enough for you, and be sure to look for any deals (such as the VideoProc Converter AI coupon above) to ensure you’re getting the best possible price.
- Support: Check what level of customer support the tool offers such as live chat, online forums and email support, in case you run into any issues.
- User reviews: Checking out user reviews beforehand can give you valuable insight into the tool’s ease of use, best features, and any bugs or issues.
Screen capturing: Frequently Asked Questions
Does Windows 10 have a built-in screen recorder?
Yes, Windows 10 does have a built-in screen recorder. It’s called the Xbox Game Bar. You can access it by pressing the Windows Key + G. This feature is primarily designed for recording gameplay, but you can use it to record any application. Please note that it cannot record the full screen or the desktop, but only an active app window.
How to record screen on Windows 10 and webcam?
To simultaneously record your screen and webcam on Windows 10 (for instance, if you’re trying to live stream your reaction to a video), you’ll need a third-party app. That’s because the built-in Xbox Game Bar can only record whatever’s happening on screen. We recommend VideoProc Converter AI — just switch it to Screen & Webcam mode and you’re good to go.


