If you read our review of the KeePass password manager then you will know that we rather like it but with the caveat that it could be a bit tricky for less technical users to install and use.
So, just how tricky a proposition is it?
Let’s find out…
To get started, you will need to download the latest version of KeePass from the official site.
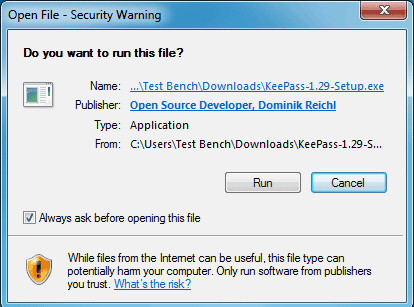
When finished, find the installer and double-click it to get started.
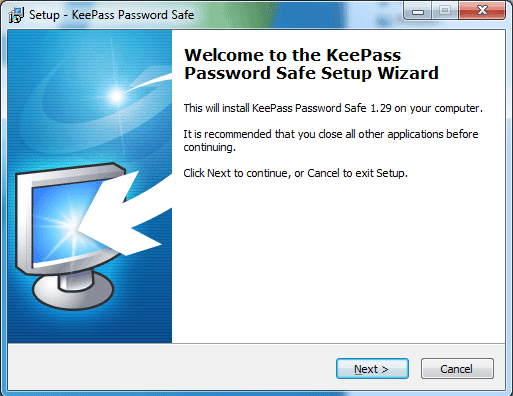
Next, run the installation wizard to set up the required Password Safe.
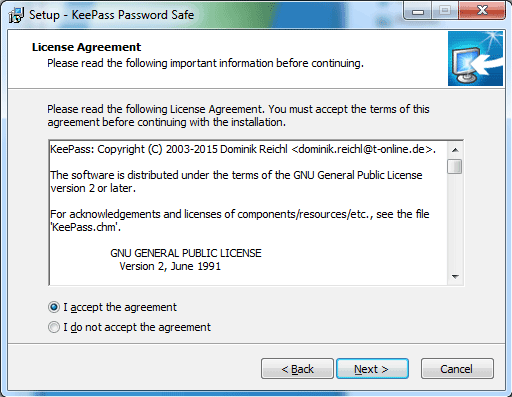
And accept the terms and conditions (after reading all the legalese, of course!)
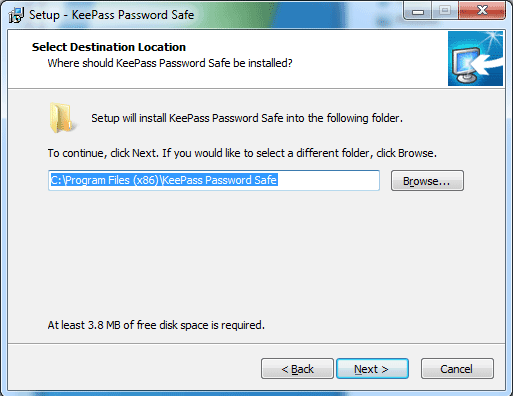
Next, you will need to decide where to save the program. It really is quite small (a little under 4 megabytes) but you may want to check how much space you have left on your drive(s), especially if you have followed the recent trend of installing your operating system on a small SSD.
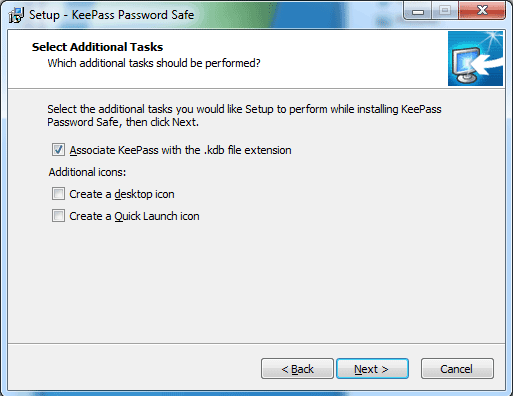
Now decide whether you want to associate KeePass with the .kdb file extension (if that means nothing to you, keep it ticked) and if you want QuickLaunch and Desktop icons (the Recycle Bin is the only icon you’ll find on any of my monitors but, hey, we’re all different).
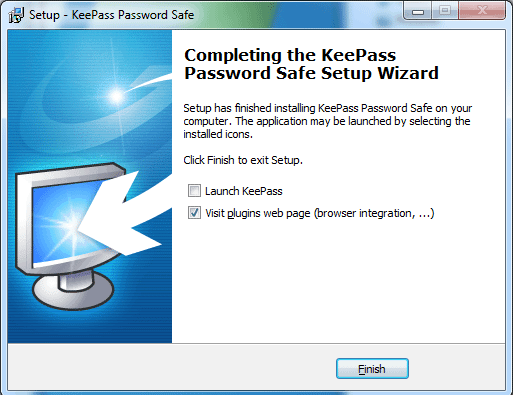
And now you’re done.
You can exit the installer and then open KeePass up at a later time, or jump right in, which is exactly what we are going to do now.
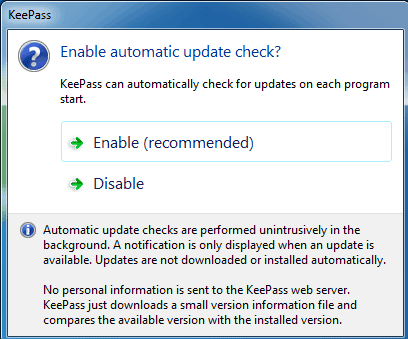
Before you get going, KeePass will ask whether or not you wish to enable automatic updates. If you’ve been reading our other articles, you’ll already know how important it is to keep your antivirus software and operating system fully up to date. The same goes for any programs or applications you use.
Now that you’re up and running it’s time to create a new encrypted password database (it’s stored as a .kdbx file). To do this, click on the icon to the top left of the screen, underneath File and then click on New. You’ll be given the option of saving the database anywhere you like but a good trick is to place it in a Cloud storage location (assuming you’re confident it is secure) as that will allow for easy synching across all your devices (more on that later).
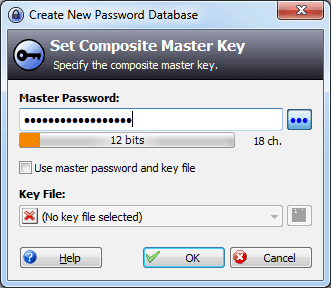
Next, you’ll want to create a secure password with which to protect your database. As this will be the only password you’ll need to remember, make sure it is a good one, but remember there is no recovery option – if you forget the master password, you’re done for.
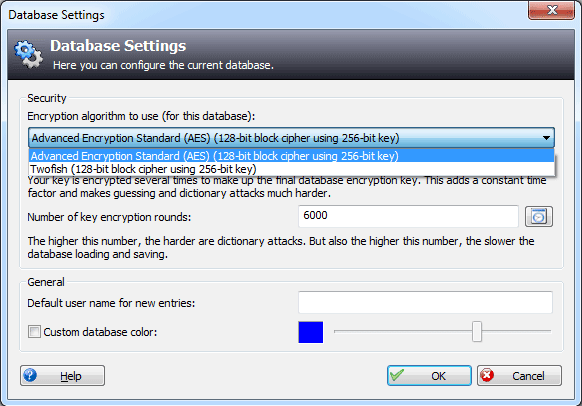
Now you can choose the type of encryption to apply to your new database. By default, KeePass uses AES-256 encryption with an SHA-256 password hash function to authenticate the data and this will do. Alternatively, you could also elect to go with Twofish (128-bit block cipher using 256-bit key). If that appeals, be aware that it is an separate plugin that you will need to download, unzip and install.
Now it’s time to start adding your passwords.
To do so, click on the key icon with a green arrow above it, as seen in the image below.
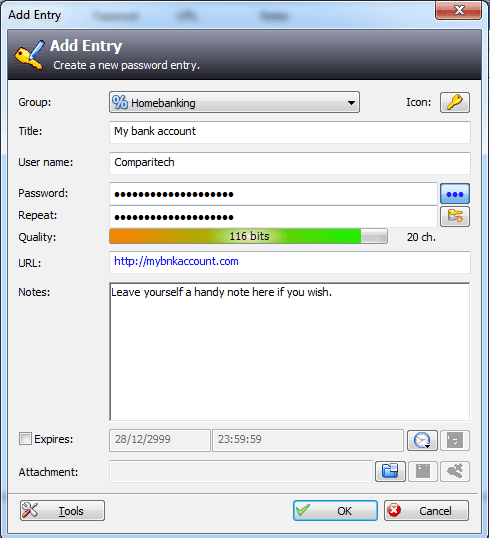
Here you can use a drop down menu to select the appropriate group for your new password. In the example below I’ve gone with Homebanking.
Add a title, User name and the URL for the site in question and you’re good to go – KeePass automatically creates a lengthy and complex password for you and stores it in your database.
Under normal circumstances, your new password will be added to the database and saved and you will never need to remember it.
Of course, sometimes things do go wrong – some websites, forms, etc., don’t like certain types of passwords or insist on upper or lower-case letters.
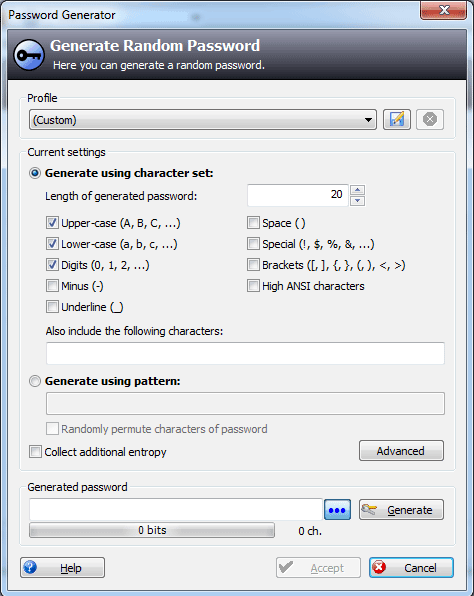
If you run into that issue you can override KeePass’ automatic password generation by clicking on the ‘Generate a password’ icon.
This will open a new window from which you can create a random password but with some rules of your choosing being observed.
And, in terms of basic set up, that is it – KeePass is installed and ready to go.
Additional functionality with KeePass
To be really useful, a password manager needs to have more functionality than merely remembering your passwords for you and, thankfully, KeePass certainly delivers in that area.
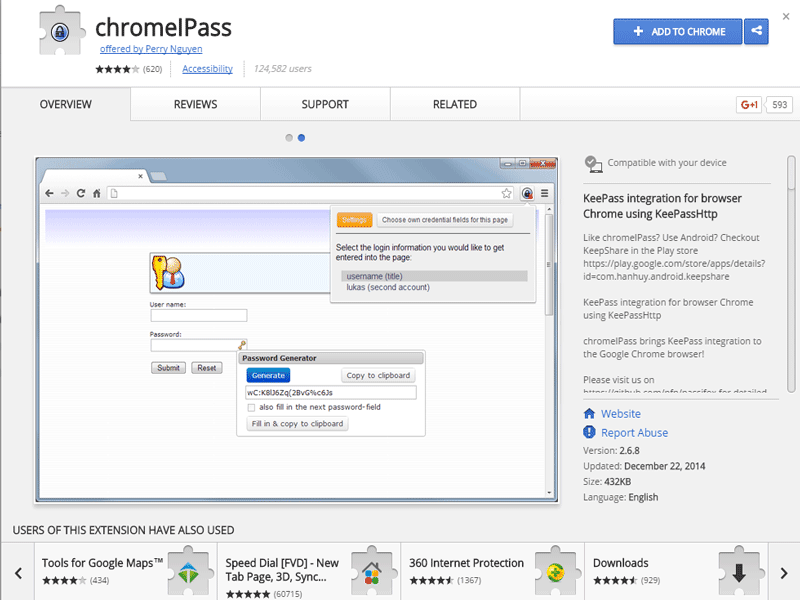
The main aspect you will almost certainly wish to consider is that of browser integration.
Not natively included in KeePass, it can be achieved through the use of plugins, for which there are a great many for this password manager, all offering different types of functionality.
The specific plugin you’ll require will depend upon your browser of choice.
I personally would go with KeePassHttp-Connector because I tend to shy away from any browser that isn’t Google’s Chrome.
Those of you who prefer Firefox – and many of you think it is the most trustworthy browser – can call upon the PassIFox plugin for your needs.
Here’s how to install it:
- Firstly, download the KeePassHttp plugin, unzip it into your KeePass folder and install it. You can find full instructions for doing this on its download page.
- Next, download and install PassIFox (just drag the downloaded passifox.xpi file into your browser).
- Now run KeePass with your .kdbx password file open
- Lastly, right-click in the form field of the password dialogue box and select ‘Fill User & Pass’. If the web address matches an entry in your KeePass file, the relevant entry will be pasted in. If you have more than one matching entries you’ll be asked to select which one you want.
While I have to admit that integrating KeePass with your browser isn’t the simplest affair – and certainly not as straightforward as with a paid-for password manager – it’s not too difficult either.
Installing the other plugins I mentioned earlier is no more difficult so do not be put off. That said, many of the additional plugins will not be necessary – they primarily offer more flexibility, improve security or allow for a certain level of customisation – all of which are handy but far from essential to anyone who simply wants a functional password manager.
Using KeePass
Now that you have KeePass installed and have added browser integration, what is it like in use?
Well, the first thing that has to be mentioned is the fact that it is certainly not a thing of beauty.
As is the case with many open source projects, no-one is getting paid to develop a sleek, easy-to-navigate user interface. And it shows.
Its not as easy to use, or at least not as intuitive, as the commercial alternatives, meaning some non-technical folk may be put off. But they shouldn’t be – it’s one of those programs that looks harder to get to grips with than it really is. Trust me, ten minutes after setting it up and you’ll be fine.
That said, if you do run into problems, there is no official support. Such is the price of entry to the world of open source software. There is as good quality FAQ available though, and the associated Forum can also be quite helpful.
If the above hasn’t put you off, there are many benefits (security being the prime one) to open source software, beyond the obvious one that it is free to use. To find out more, read our review now.

