Maintaining the uptime and reliability of Windows Server environments is vital for businesses of all sizes. Server downtime can lead to significant disruptions, including loss of productivity, revenue, and customer trust. Monitoring and optimizing server performance is essential to ensure that systems remain operational and efficient. Windows Server uptime tools play a pivotal role in helping IT teams track system health, detect issues, and minimize downtime by providing detailed insights into server performance and potential vulnerabilities.
In addition to monitoring core performance metrics, the best uptime tools offer alerting features that notify administrators when servers are at risk of failure or underperforming. This proactive alerting helps teams respond quickly to potential issues, whether it’s a server overload, a critical update pending, or a hardware failure. Furthermore, many uptime tools offer historical reporting that allows teams to analyze server performance trends, identify patterns, and improve long-term server reliability.
These tools also provide the ability to track server health across multiple locations and integrate with other monitoring systems to offer a unified view of an organization’s entire infrastructure. Whether you’re managing a small business network or a large enterprise environment, choosing the right Windows Server uptime tool is essential for minimizing downtime and ensuring that critical systems remain available.
This guide highlights the top tools designed to monitor, manage, and optimize the uptime of Windows Server environments. These tools allow administrators to track vital metrics such as CPU usage, disk space, memory usage, and network connectivity, providing real-time visibility into server health. By proactively identifying performance issues and system bottlenecks, these tools enable IT teams to resolve potential problems before they result in downtime or other disruptions.
By using the best Windows Server uptime tools, businesses can maintain a high level of server reliability, reduce downtime risks, and optimize IT operations for better productivity.
Checking Windows Server Uptime with Command Prompt
Not all versions of Windows Server have uptime listed within the task manager. Luckily, you can check uptime relatively quickly with a few simple commands.
Windows XP and Windows Server 2003/2008
If you’re still running Windows XP/2003 (which you shouldn’t be), you can check the uptime via the commands prompt.
To access the command prompt, click on Start, choose Programs, Accessories, then click on Command Prompt. Alternatively, you can access the command prompt by clicking on Start > Run, typing “cmd” in the box, and pressing enter.
Once at the command prompt, type the following command:
systeminfo | find “System Up Time”
This should display the last boot time.
If you want to check the uptime for a server remotely, you can modify this command by typing:
systeminfo /s remoteserverhostname | find “System Boot Time”
Windows Server 2012 R2
You can check up time in Windows 2012 through both Task Manager and Command Prompt. For example, you can run the net statistics command in the command prompt to get the last time the machine was booted. You’ll also receive other statistics such as server disconnects, network errors, and sessions started.
Open the command prompt by going to Start > Run, then type cmd in the Run box and press enter. Once inside the command prompt, enter the following command:
“Net statistics server”
Note: If you are not on a server and a regular workstation, replace the word “server” with “workstation”.
Checking Windows Server Uptime in PowerShell
You can also check Windows Server uptime from PowerShell. This is convenient if you’re looking to write a script that uses uptime or simply forward the output elsewhere.
However, keep in mind that PowerShell may not be installed on the server. Installing PowerShell is simple but varies depending on the version of the Windows Server you’re running.
Assuming you have PowerShell installed, type the following command:
(get-date) – (gcim Win32_OperatingSystem).LastBootUpTime
As you can see, this provides a detailed yet straightforward output that breaks down exactly how long that machine has been running. Of course, you can modify this command to check the uptime of multiple servers as well.
Use the command below to check the uptime of multiple servers. Replace “Server1, Server2, etc.” with the hostname of the servers you’re looking to check.
$servers = “Server1″,”Server2″,”Server3”
$currentdate = Get-Date
foreach($server in $servers){
$Bootuptime = (Get-CimInstance -ClassName Win32_OperatingSystem -ComputerName $server).LastBootUpTime
$uptime = $currentdate – $Bootuptime
Write-Output “$server Uptime : $($uptime.Days) Days, $($uptime.Hours) Hours, $($uptime.Minutes) Minutes”
}
Running this command will list the uptime of each server breaking down the days, hours, and minutes since the last reboot.
Checking Window Server Uptime With WMIC
Although a bit primitive, you can use the WMIC command in the command prompt to display the last boot time of the server. The WMIC command outputs the last boot time in a year, month, day format followed by a UTC timestamp. (YYYY/MM/DD)
While this isn’t the easiest way to read uptime results, it might come in handy if you’re writing a script that uses a precise measurement of Window Server uptime.
Checking Uptime With Event Viewer
While not as efficient as other methods, you can view the uptime of your Windows Server environment by checking for shutdown and reboot events in the logs. This will give you a better comprehensive picture look at the activity of your server.
You can access Event Viewer by going to Start > Run > and typing eventvwr.msc. You can also access Event Viewer by using the Administrative Tools shortcut. Under Windows Logs > System, you can view different events such as reboots, crashes, and logoffs.
You can scroll and keep an eye out for reboot events or use the filter function to sort events that would impact uptime. Below are a few examples of Event IDs that can reset your uptime.
1074 = Shutdown was planned
1076 = Reboot reason supplied was “Other or Unplanned”
6005 = Event log started (Typically indicates the machine is back online)
6006 = Event log service stopped (Typically due to a reboot or crash)
6008 = The last system shutdown was unexpected
6009 = System Started
Checking Uptime With Tools
Depending on your needs, there are numerous free and paid tools you can use to keep tracking of your Windows Server uptime.
1. SolarWinds Server & Application Monitor

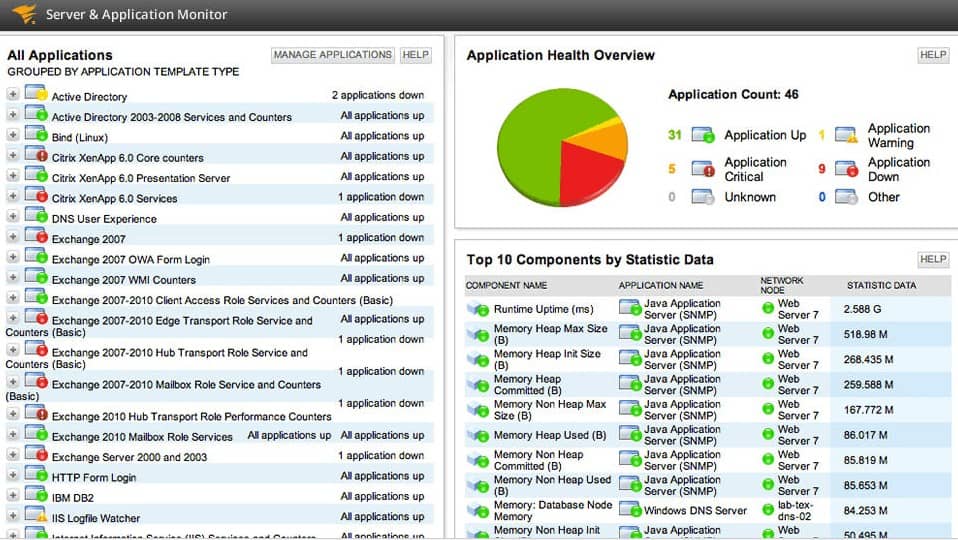
For busy sysadmin who can’t spend the time creating scripts or repeating commands, SolarWinds Server & Application Monitor comes completely automates uptime monitoring for Windows Server and other environments.
The software uses a simple, Unfortunately, while lightweight agent on the target machine to gather performance metrics, uptime statistics, and the overall health of the endpoint.
Often, unexpected downtime is a symptom of a more significant issue. SolarWinds SAM provides uptime alerts with relevant contextual information that helps speed up the troubleshooting process and get tickets closed faster.
If you’re looking to automate your uptime monitoring, you can test out SolarWinds Server & Application Monitor utterly free for 30 days.
2. Uptime.exe
In the past, Microsoft used an executable called Uptime.exe to display uptime statistics of workstations and early versions of Windows Server. While the tool is no longer officially offered by Microsoft, it can still be downloaded thanks to internet archives.
Simply place the tool in your Windows folder and access it by typing “uptime” in your command prompt. You’ll have numerous settings that output actual events, statistics, date ranges, and remote server monitoring capabilities.
This free tool works in Windows Server 2003 and onward. While it can provide steady heartbeat monitoring, the tool lacks many modern functions in newer tools available today.


