The biggest challenge setting up Plex on Chromecast is figuring out ways to cast content to it without tying up your computer or phone while you watch. Using the Plex full-featured web client to send content to your TV removes the need to keep the movie or TV show playing on another device. Here’s how you can easily set up Plex on Chromecast.
What are Plex and Chromecast?
Plex is a streaming media server that can deliver content to your TV, computer, or mobile devices. You can use Plex to watch movies and shows that you have downloaded. It also manages music, and will let you take your home music library with you out of the house.
Many of the best Plex features are free — this includes playback of anything on your server, as well as a raft of movies, shows and live TV. A subscription is required if you want to use Plex mobile apps, record over-the-air broadcasts, and to skip credits and intros in your personal library.
Google made the Chromecast digital media player as a low-cost, simple streaming device that will work on any TV with an HDMI port. They were one of the first home streaming devices to market in 2013, and they have an established user base.
One of the things Plex does better than its competitors is offer full support for every device, and that’s a huge advantage. You can set up Plex to cast videos without stuttering or audio de-sync issues, even on underpowered first-generation Chromecast devices.
If Chromecast has a weakness, it’s that there’s no way to install apps or stream independently, like most competing devices. Everything that you want to see on your TV at home has to be ‘casted,’ or streamed, to your Chromecast.
But Plex’s universal support for Google Cast, along with the fact that it has an excellent web interface, makes it a great choice for anyone who owns a Chromecast.
Running Plex on Chromecast safely
Your security and privacy online are really important, and sometimes downloading or streaming content can put you at risk. We recommend you connect to a VPN when using your Plex server or any other computer that you use to download videos or stream content.
Virtual Private Networks (VPNs) keep you safe by encrypting your connection to the internet, making it all but impossible for hackers or your ISP to spy on your data or view what sites you’ve been visiting. They also make man in the middle attacks—targeted attempts by hackers to steal your passwords and identity—much, much more difficult to carry out.
VPNs can even boost your speeds by prevent your Internet Service Provider (ISP) from throttling your connections. Some ISPs intentionally restrict user bandwidth when they’re streaming or downloading large files. Because VPNs encrypt traffic, the ISP is unable to tell when a user is connected to a streaming service or downloading media.
We recommend NordVPN as the best option for protecting Chromecast users accessing Plex. It works exceptionally well with streaming platforms, supports a wide variety of operating systems, and offers multiple ways of working with Chromecast. Connection speeds are fast enough for streaming in 4K, and it has thousands of servers worldwide. Plus, it comes with a 30-day money-back guarantee so that users can test it out risk-free.
Want to know more? Check out our detailed NordVPN review, or use the coupon below to save on your subscription.
Setting up your Chromecast
If you haven’t done so already, check that your Plex server can communicate with your Chromecast device. If your Chromecast is up and running, and you’ve confirmed that you can cast to it successfully, you can skip ahead to the next step.
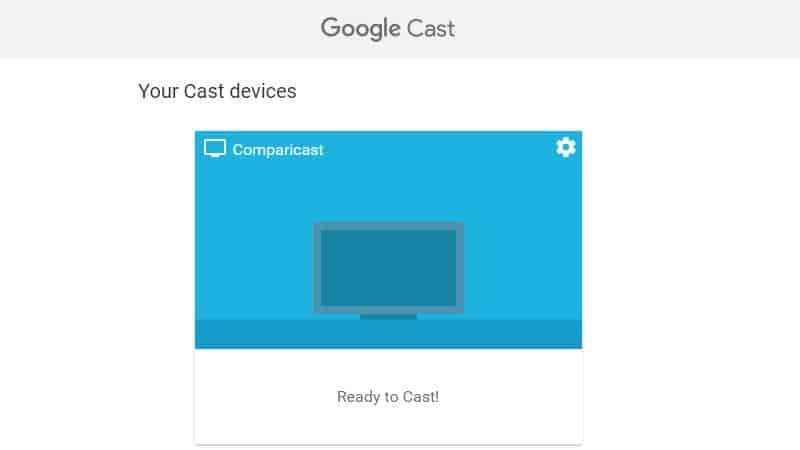
You should be able to open the URL chrome://cast in your Chrome browser and view a list of your devices. Your screen should look like it does above. If it does, skip ahead to the next section.
Plex on Chromecast settings
But if your device isn’t configured properly, when you go to the chrome://cast URL in the Chrome browser you’ll see that it says Click to set up instead of Ready to cast. In that case, follow the directions and click the link.
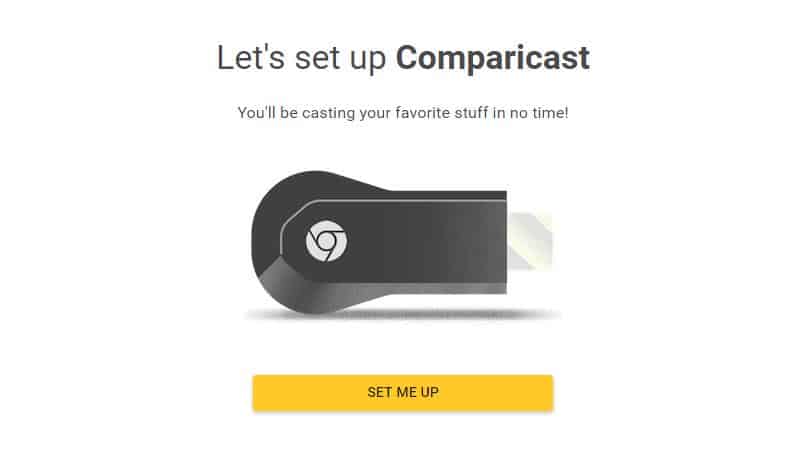
Then click the Set me up button.
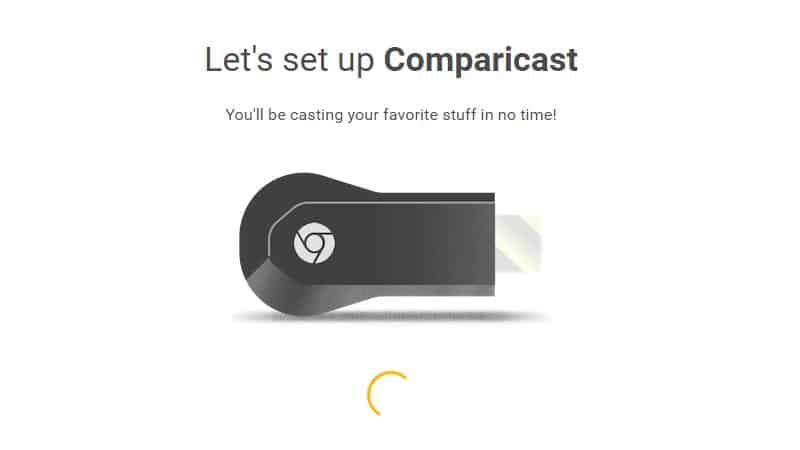
You’ll see a progress spinner appear below the picture of your device.
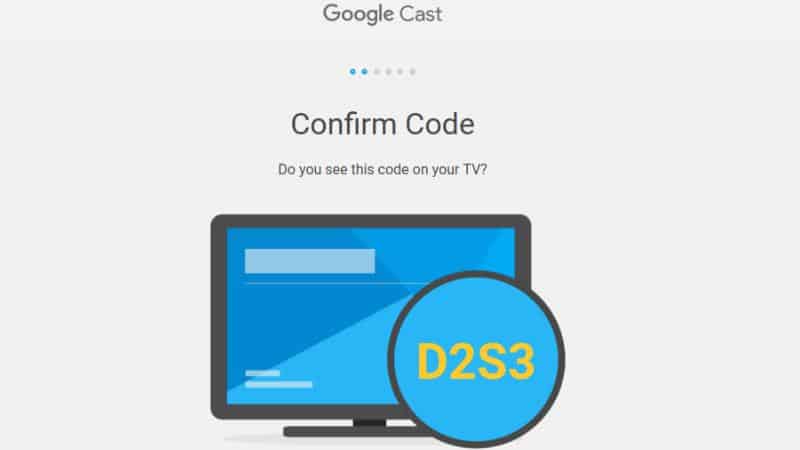
After the Chromecast device is communicating with your computer, you’ll be asked to confirm the activation code on your tv. Click Next if the code matches.
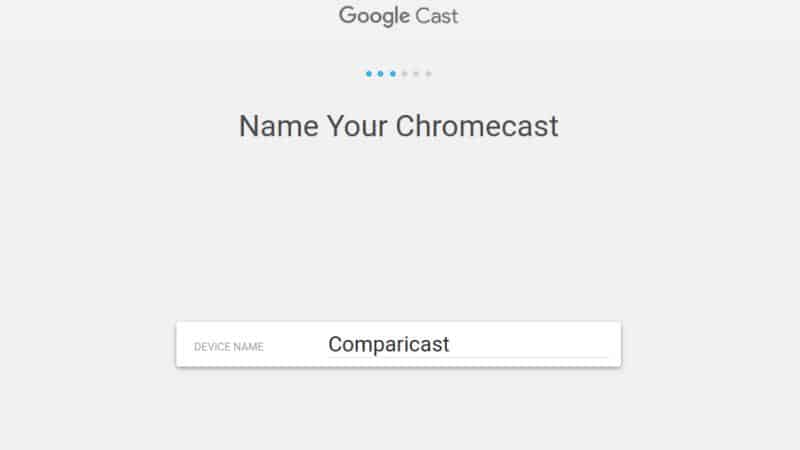
Now you can name your device. If you have more than one Chromecast in your home, you’ll want to pick a name that will let you know which room it’s in. Click Next to move on to setting up the wireless network.
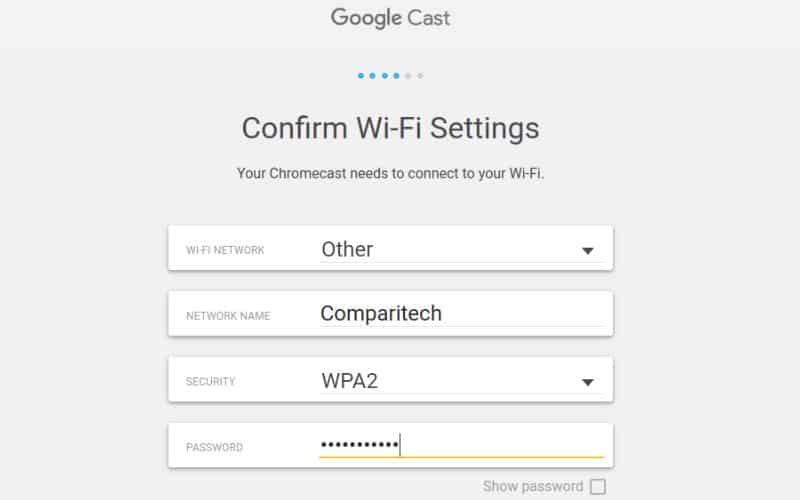
Fill out the details of your wireless network, and you’re finished. Now your Plex server should be able to talk to your Chromecast device, and stream content to it using the web interface or mobile apps.
When you’re finished, you’ll see Ready to cast displayed under your device when you open your Chrome browser to chrome://cast. That’s your indication that everything has been set up properly.
You can also set your Chromecast device up on your smartphone using the Google Home app. The process is very similar to setting it up on your computer, and all of the steps are basically the same.
Now that your Chromecast is ready to go, you should optimize your Plex server for streaming to Chromecast devices.
Optimizing Plex for Chromecast
Chromecast isn’t the most powerful streaming device on the market. If you notice performance problems, like stuttering or audio de-sync, here are a few settings you can change to fix them and improve playback.
General configuration
You should make two changes to your general configuration in order to reduce the size of the files you have to stream to your Chromecast device. This is helpful, because Chromecasts have smaller memory buffers than Roku or Fire TV devices.
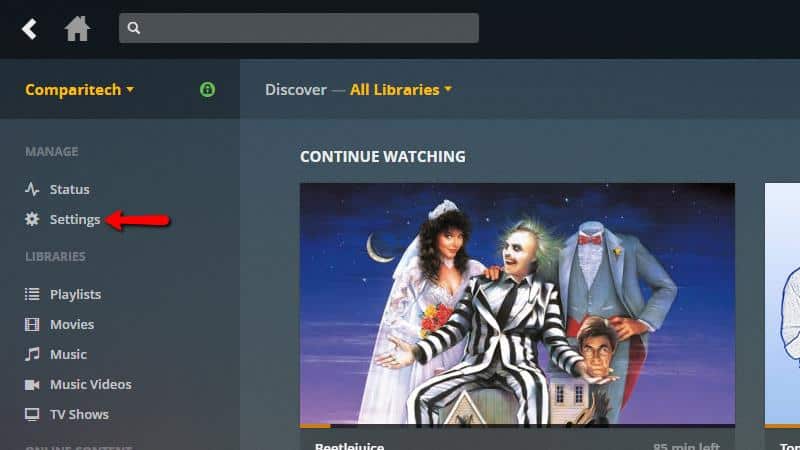
Start by opening the Plex web client and clicking on the Settings menu item.
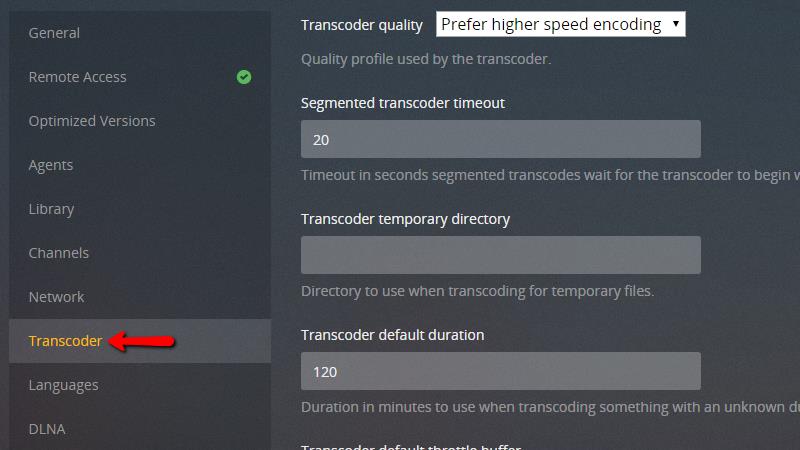
Then scroll down and click on the Transcoder menu item.
Change the general Transcoder quality setting to prefer higher speed encoding. If your Plex server’s processor is slow, this will help to eliminate buffering.
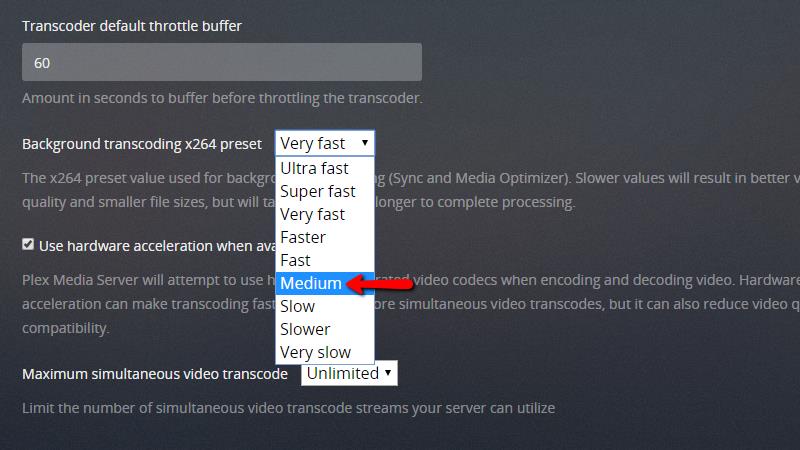
Next, scroll down and set the Background transcoding x264 preset to Medium or higher. This setting reduces the file size of the stream, clearing up streaming errors caused by too little bandwidth.
After you’ve made those changes, click the Save button and return to your Plex library.
Optimizing video formats for Plex on Chromecast
Plex is capable of converting a video into a different format tailored to your device. This is called optimization, and videos optimized for Chromecast won’t buffer or lag.
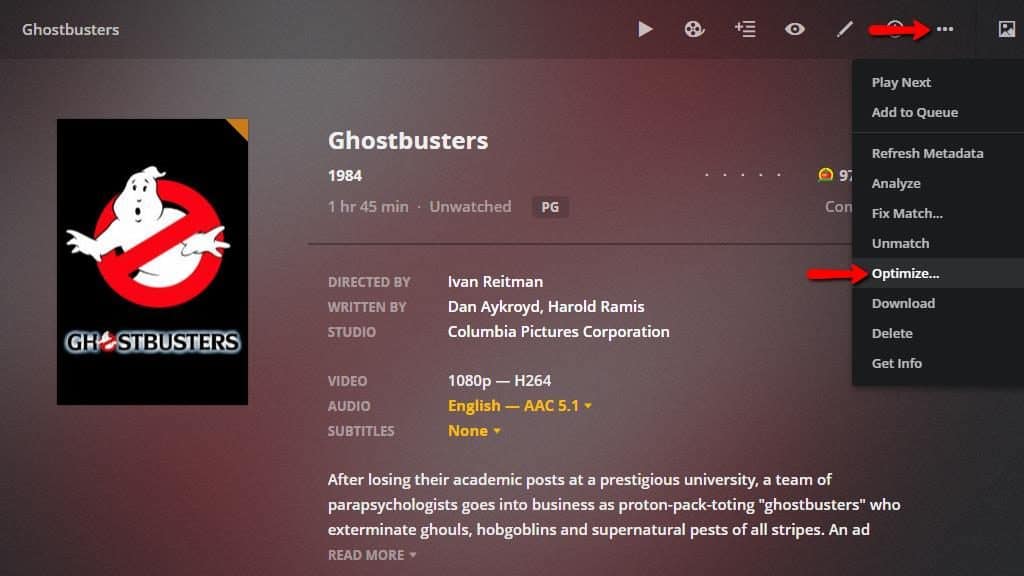
If you’re still having streaming issues with Plex on Chromecast, you should generate an optimized version of each movie and show you plan on streaming. In most cases changes you’ve already made will be enough, but if your device is still struggling this will fix it.
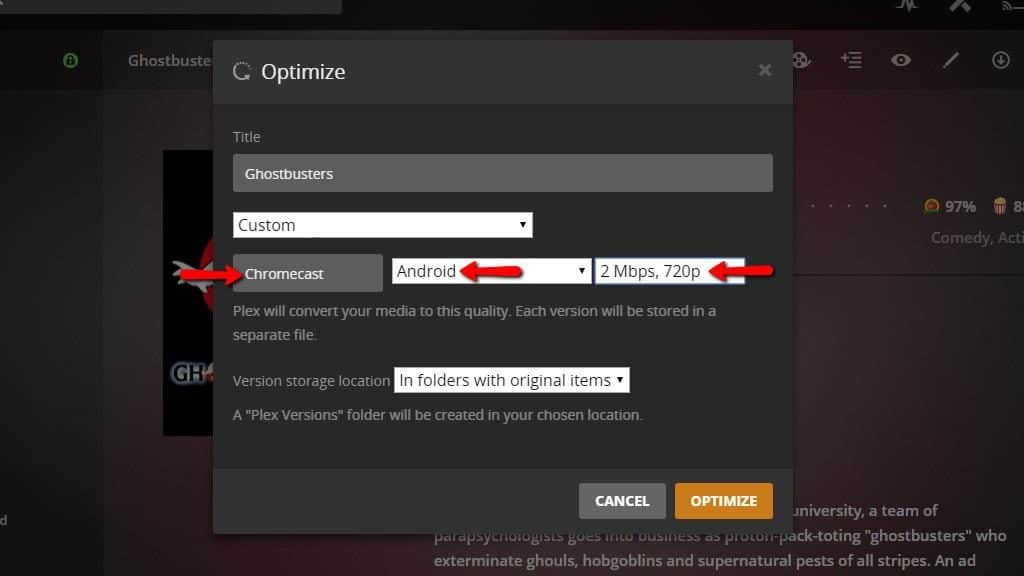
Select an optimization profile from the drop menu. When you’re finished adding the Chromecast profile in the next steps, a profile will be saved that you can use to optimize for Chromecast in the future.
After changing the optimization profile to Custom, take a look at the new options you have on the optimize menu. You’ll need to change the profile name to Chromecast, set the platform to Android, and change the quality to 2 Mbps, 720p. It’s possible to use a higher quality if you have a second generation device. The low-quality setting will ensure your stream will play without skipping.
Once you’ve changed those settings, click the Optimize button to begin the process of converting the video.
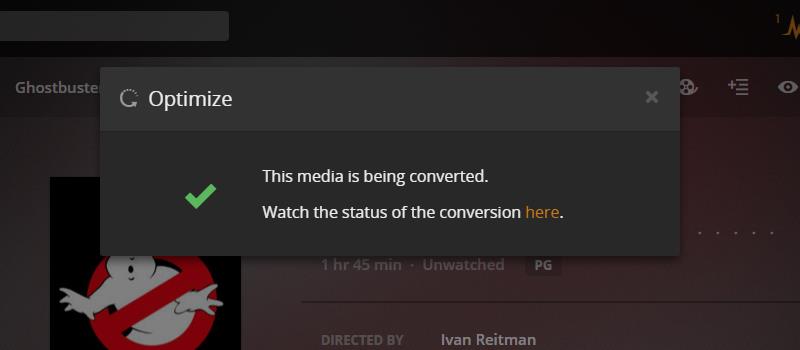
Plex will show a message saying that the video is being optimized for your device. Click the link to monitor the video’s progress, or continue using your Plex server until the process is complete.
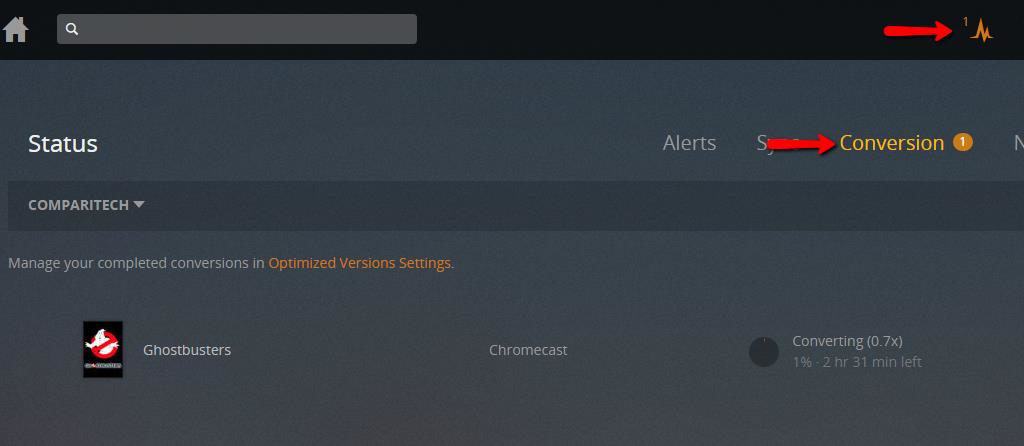
You can also monitor optimization progress by clicking the Status button in the upper-right corner of the Plex web client, and then selecting Conversion.
When the conversion screen shows that your video’s optimization is complete, you can play it using the instructions in the next step.
Playing optimized videos
Once you’ve optimized your video for Chromecast, playing it is easy.
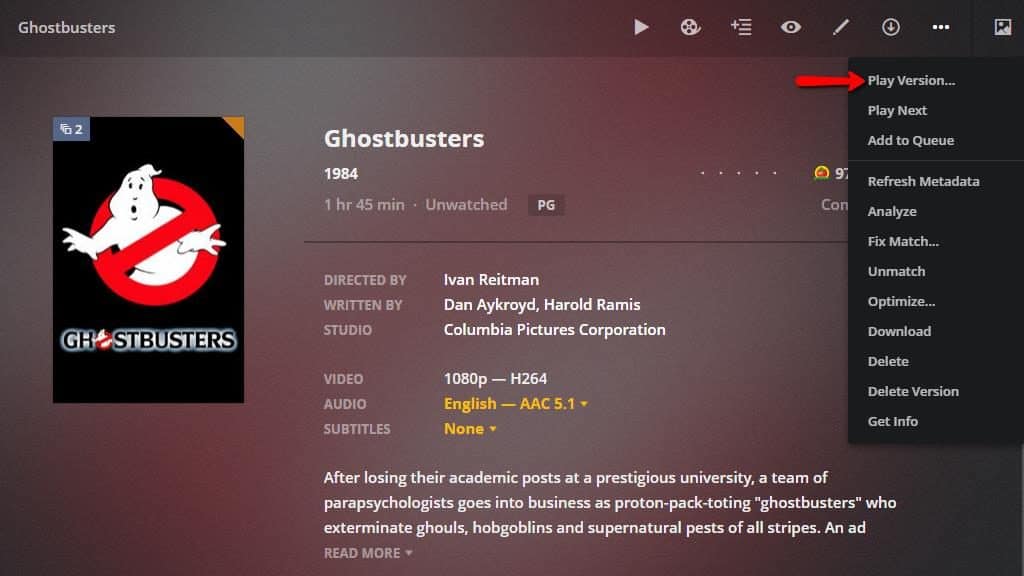
Note the icon in the upper-left corner of the video’s poster. It denotes two different versions of the same video, and is a clear indication that your video has an optimized copy in your library.
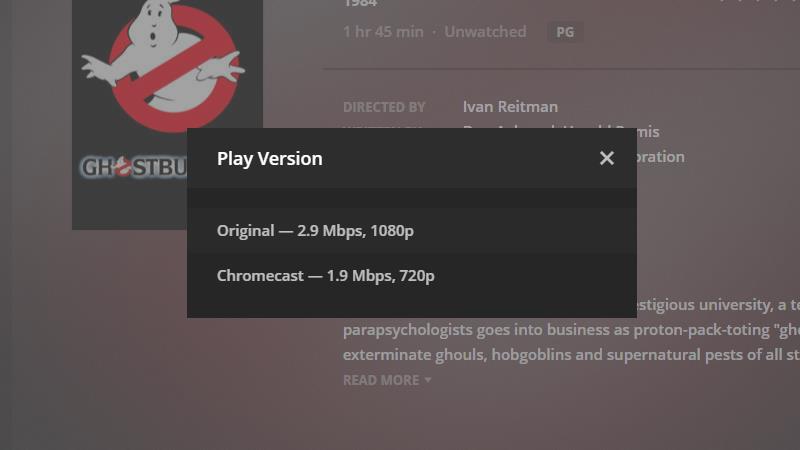
In order to launch the optimized version of your video, click the “…” menu and select “Play version…” from the list of choices. Choose which version of the video you want to play.
Select Chromecast—1.9 Mbps, 720p to play the version of the video that has been optimized for Chromecast. Once the video starts playing, you can cast it to your device by following the guide below.
Removing optimized videos
Optimized copies almost always take up less room than full-resolution versions, but you can remove them to free up disk space. It’s possible to delete optimized copies directly off of the disk, but you’ll need to do a full library scan afterward. Here’s how to remove optimized copies of your videos through Plex.
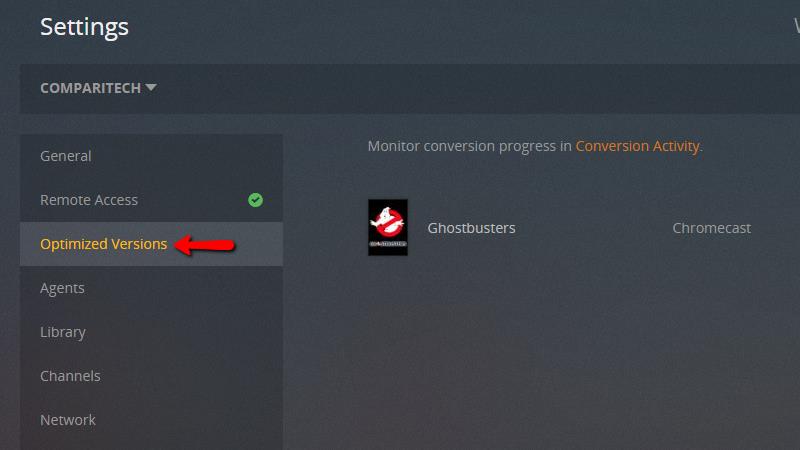
From the web interface, click on the Settings menu.
Click Optimized versions from the menu at the left.
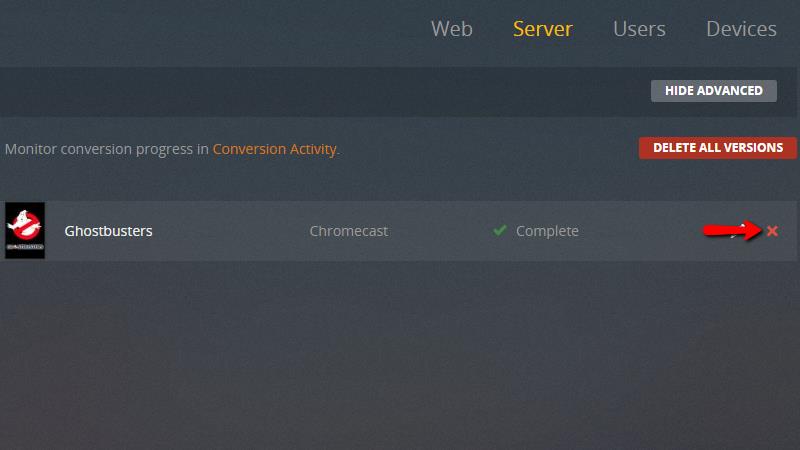
You’ll see a list of all of the optimized content in your library. You can delete the files using the Red X as shown, or click the Delete all versions button to remove all optimized files at once.
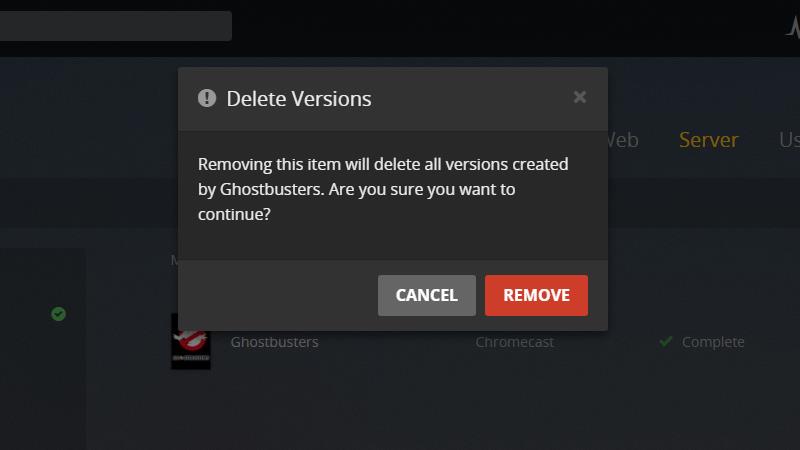
Once you remove an item from the list, Plex will delete the optimized copy of your video from your library and hard drive. You’ll be prompted to click the Remove button if you’re sure.
Optimized copies of videos that you remove like that will disappear from your Plex library immediately.
Streaming Plex videos on your Chromecast
Whether or not you decide to set up Plex for Chromecast and generate optimized videos, you’ll start and stop casting in the same way.
Starting playback
To start playback, open a copy of the video you want to cast on your computer or mobile device.
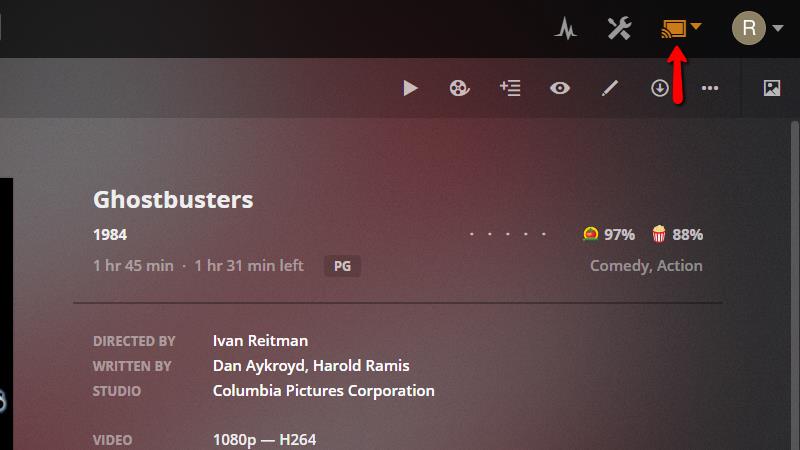
Click the Google Cast icon in the top-right corner of the screen, then choose Cast… from the menu.
Specify which Chromecast you’d like to use.
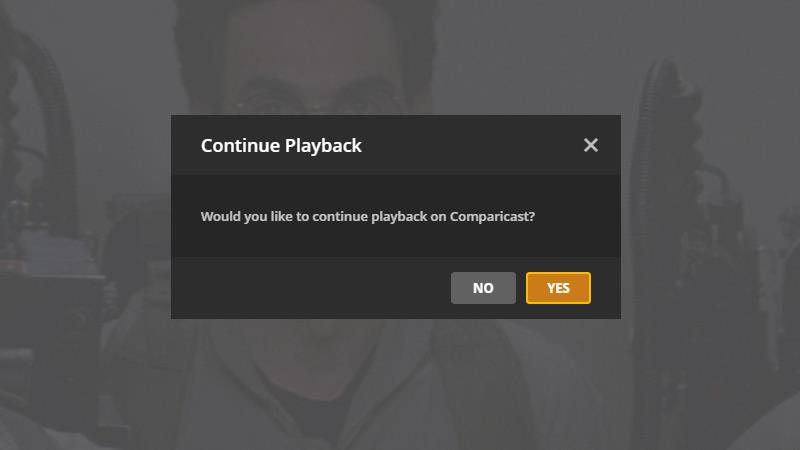
Then click Yes when prompted to begin playback on your selected Chromecast device. The video will start playing immediately on your TV.
Since Chromecast devices don’t have a remote control, you’ll have to pause and seek using your computer.
Stopping playback
When you’re ready to stop playback of a video entirely, you’ll need to tell Google Cast to quit streaming.
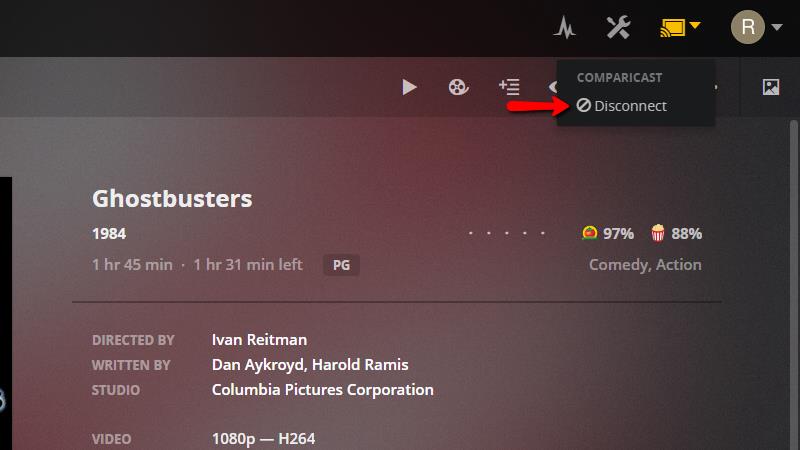
Open Plex’s web interface, and click the Google cast icon in the top-right corner of the screen.
A drop menu will appear. Under the proper Chromecast device, click Disconnect. Playback will stop and your Chromecast will return to its home screen.
Plex is the best choice for Chromecast devices
After testing out Plex on Chromecast for a couple of weeks, I’m a convert. If you have a Chromecast device that you rely on for streaming, there’s no better choice than Plex. The casting options integrate well into Plex’s web interface, better than they do with Kodi or other media players. I also appreciate the way that the streaming is handed over to Plex server, freeing up your mobile device.
I’m not sure I’d go so far as to recommend Google Chromecast as your only streaming media device, with options like Amazon’s Fire Stick or Roku Express providing more playback options. But if you’ve got a Chromecast already and you’re looking for the best way to stream media on your TV, Plex on Chromecast is excellent.

