uTorrent is a closed-source torrent client owned by BitTorrent, Inc. and is probably the most widely used torrent client in the world. Private Internet Access VPN is one the highest rated VPNs we have reviewed. Debian strains of Linux such as Ubuntu, Linux Mint, and Debian itself are the most widely used desktop distros in the world. Putting these three things together provides fast downloads with a very high degree of anonymity and privacy.
Both uTorrent and Private Internet Access support Windows, Linux, and MacOS. All the versions of Private Internet Access VPN are fairly similar, but the Linux version of uTorrent is a wide departure from its non-Linux counterparts. The Linux version of uTorrent runs as a server and is accessed through a web browser on your Linux desktop. It also comes in both 32-bit and 64-bit flavours to accommodate both types of processors typically seen in PCs today. You can run the following command to find the bitness of your Linux distribution:
uname -p
Anything with ‘64’ in the output is running a 64-bit Linux distribution and you should use the 64-bit PIA and uTorrent downloads. If you’re running a 32-bit distribution you’ll likely see something with ‘i386’ in the output. For example, my 64-bit system looks uname output is this (note the 64):
x86_64
While Ubuntu, Linux Mint, and Debian are all based on the same package manager system, there are some differences in installation. I used 64-bit versions of Ubuntu 16.10, Linux Mint 18, and Debian 8.6.0 for this article.
Installing Private Internet Access
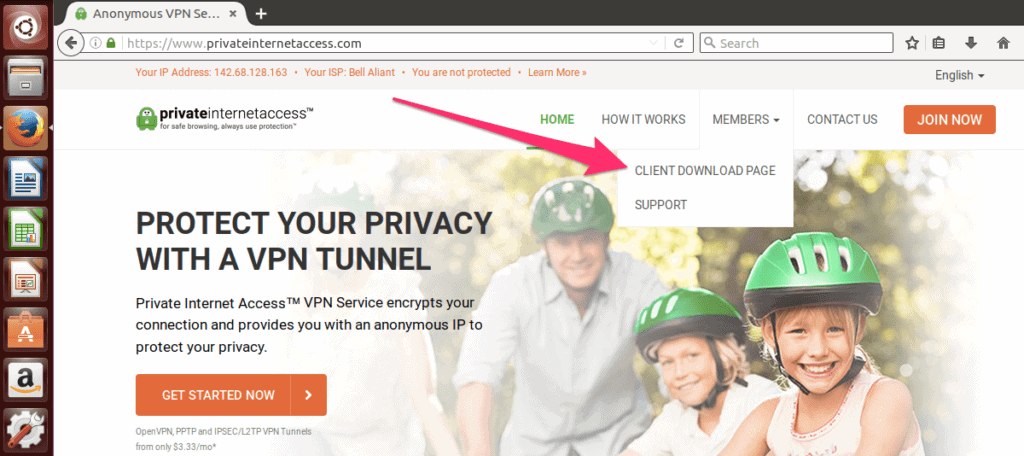
Private Internet Access is currently available with a 52% discount on the annual plan here. You’ll need to login to your Private Internet Access account and navigate to the client download page.
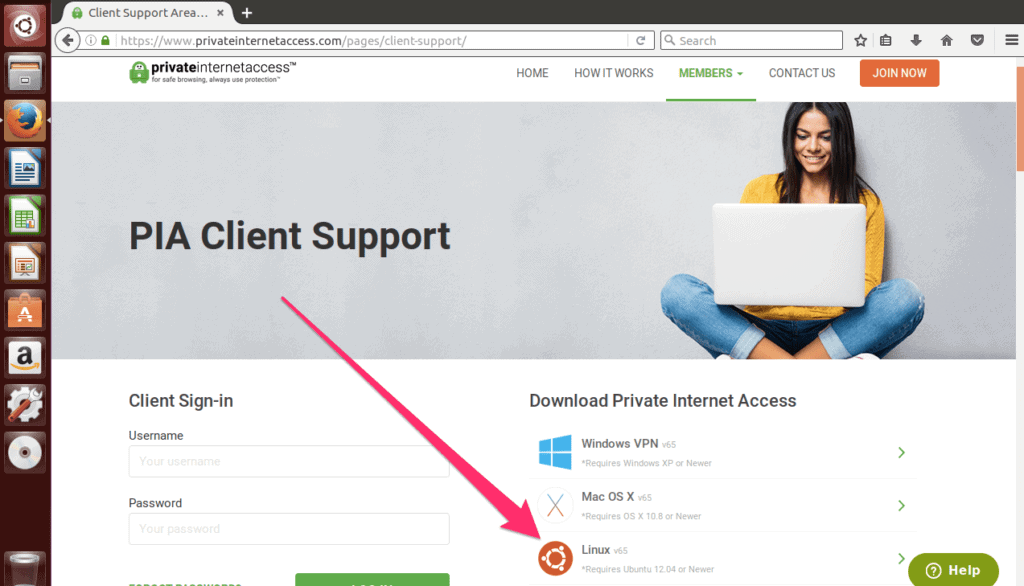
Select the Linux package. Note that it states that you must be running Ubuntu with a minimum version of 12.04, but I was able to install it on Linux Mint and Debian as well. The package likely won’t work on RPM-based distributions such as Fedora or CentOS.
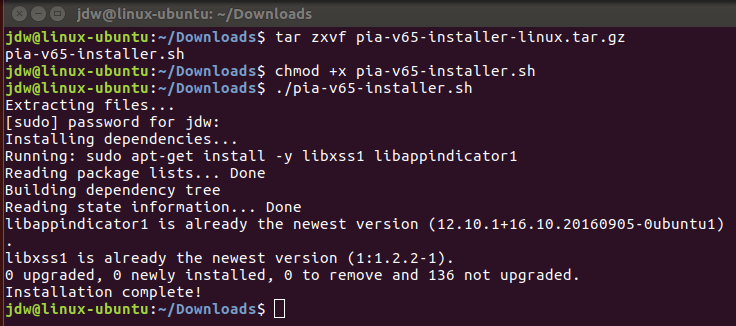
Ubuntu 16.10 and Linux Mint 18 installation
Both Ubuntu and Linux Mint installed without any issues using the following commands:
$ tar zxvf pia-v65-installer-linux.tar.gz
$ chmod +x pia-v65-installer.sh
$ ./pia-v65-installer.sh
Debian 8.6.0 installation
There is one issue with the Debian 8.6.0 installation. Since the package provided by Private Internet Access is built for Ubuntu it assumes that you’ll be able to use the sudo command during installation. The sudo command in Linux allows normal users to temporarily gain administrator level privileges to do things such as install software.
Debian has sudo installed but it is not configured for use by default. So, unless you’ve configured sudo previously, it won’t work. The next obvious step would be to become root using the su command and run the installation as the root user, but the Private Internet Access package won’t allow that.

The solution is to add your user to the sudoers file and then run the installer normally. Become root and issue the following command, then re-run the installation script.
echo “jdw ALL=(ALL:ALL) ALL” >> /etc/sudoers
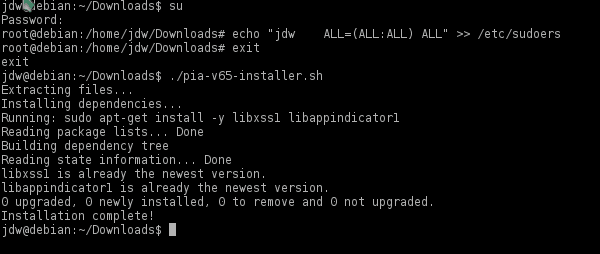
Start Private Internet Access
Once the installation completes you will be prompted to log in to your Private Internet Access account. Before logging in, you may wish to click the “Advanced” button on the login page to view the settings. You can also access this settings page by clicking the Private Internet Access icon in the system tray and selecting the “Settings” option.
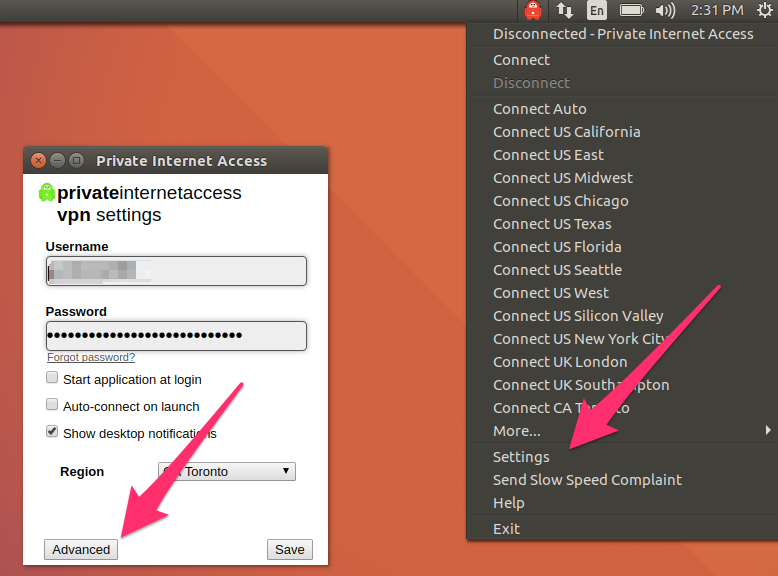
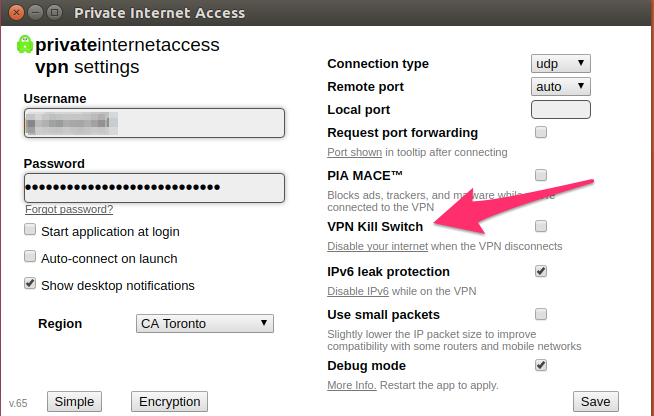
An important feature of many VPNs is a “Kill Switch”. Enabling this setting will cause your internet connection to fail if the VPN unexpectedly disconnects. This will prevent your IP address from being leaked while the VPN connection is reestablished. PIA is one of the few VPN providers that makes a Linux app with a built-in kill switch, which is why we chose it for this tutorial.
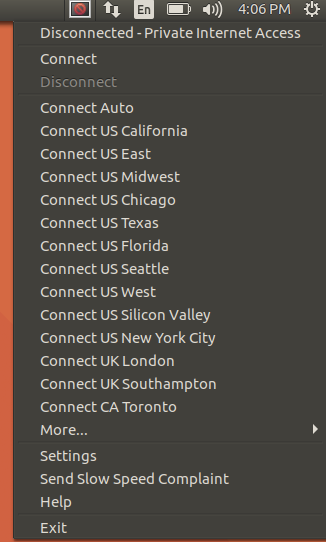
You’re now ready to connect by clicking the Private Internet Access icon in your system tray and selecting a location or selecting “Connect Auto” to allow the application to select a location for you.
 There is a rich set of support and knowledge articles on the Private Internet Access site.
Installing uTorrent
Since uTorrent is proprietary you won’t find it in the software repositories of any of these distros. This means that you can’t use the normal apt-get install or the software center to install it. You’ll need to visit the uTorrent website and download the closest package you can find. As of this writing, only Debian 6 and 7, and Ubuntu 12.04 and 13.04 are offered. Debian stable is version 8.6 at this time so that means there are no current packages for it. Since Ubuntu 12.04 is a Long Term Support (LTS) version supported until the end of 2017 it is technically still current. I used Debian 7 for the Debian setup and Ubuntu 12.04 for both the Ubuntu and Linux Mint setups.
There are three levels of uTorrent subscriptions. I used the free, ad-supported version. Other options are $4.95 (GBP $3.91) per year for no ads, or $19.95 (GBP$15.77) per year for antivirus, premium support, instant streaming and media conversions.
In all cases, the packages are tarballs. There are no *.deb packages but the good news is that there is no compilation needed either. The binaries just work.
Download uTorrent
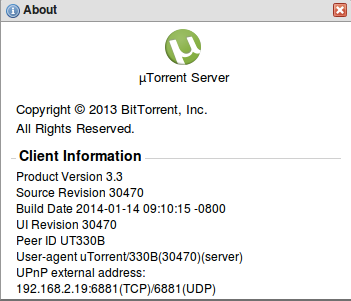
There are a number of tutorials on the web that show different ways to obtain uTorrent using tools like wget. It makes the most sense to get uTorrent from the uTorrent site directly, so I downloaded it from its website which turned out to be version 3.3 from 2013.
Install uTorrent
Installation of a precompiled binary consists of copying it to a suitable system-wide location where it can be executed easily. I unarchived the tarball to /opt/ which is a generic file system location for “optional” applications.
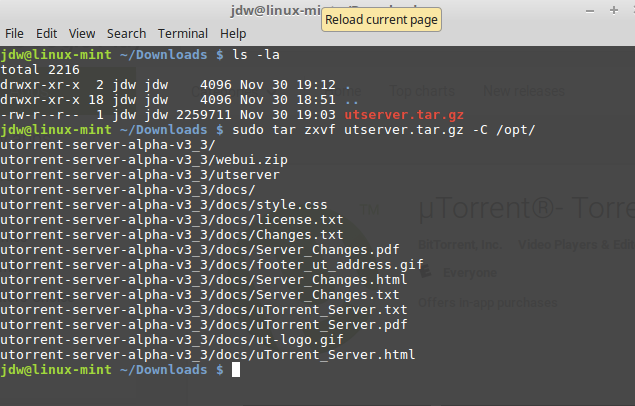
Debian does not come with sudo configured as Ubuntu and Linux Mint do. Therefore, to untar and symlink in Debian, you must first become root using the command su, and then run the following commands without the leading sudo like this:
su
tar zxvf utserver.tar.gz -C /opt/
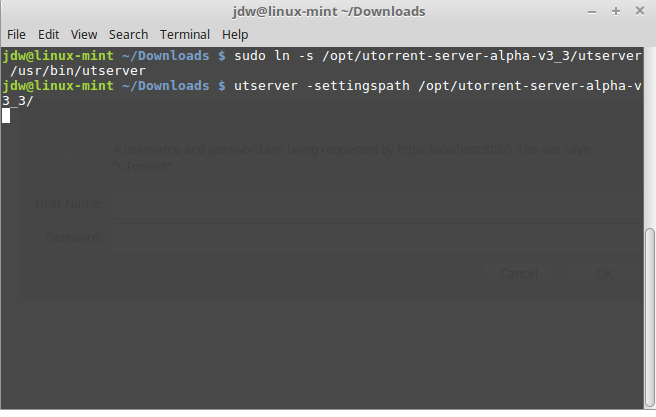
And then symlinked it to /usr/bin/ as a reasonable central place to run it from. You can then start the server, which returns no output, but also should not return you to the command prompt.
In Debian, the symlink command would be:
su
ln -s /opt/utorrent-server-alpha-v3_3/utserver /usr/bin/utserver
There is no need to be root or use sudo to start the server.
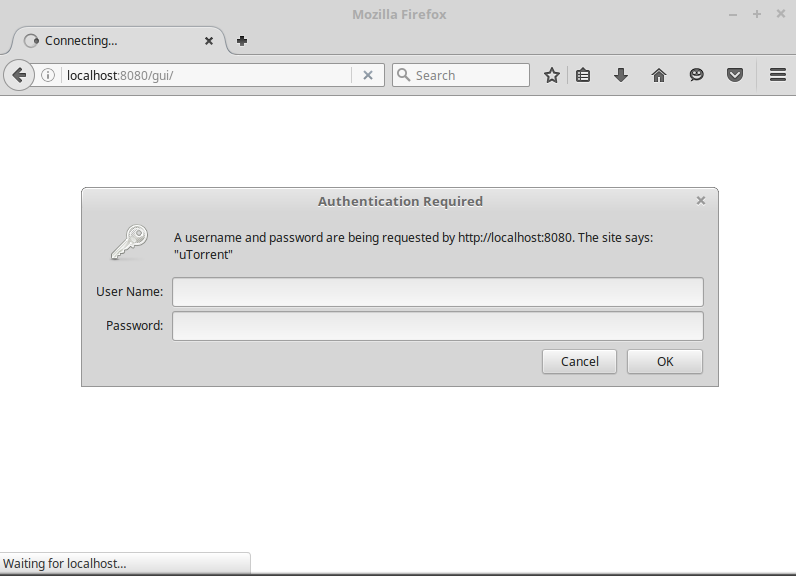
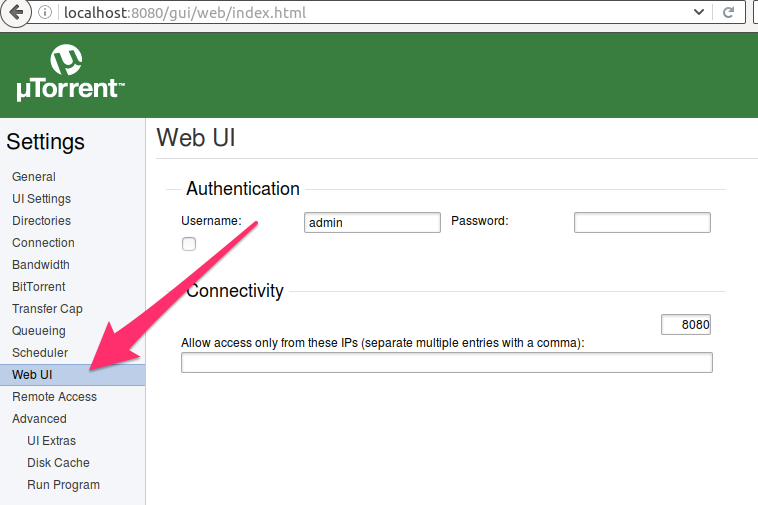
The default address for uTorrrent is at http://localhost:8080/gui/. Launch a web browser to that address and you’ll be prompted to login. The default username is admin without any password.
Once logged in, the user interface looks very similar to the uTorrent client interface for Windows or MacOS.
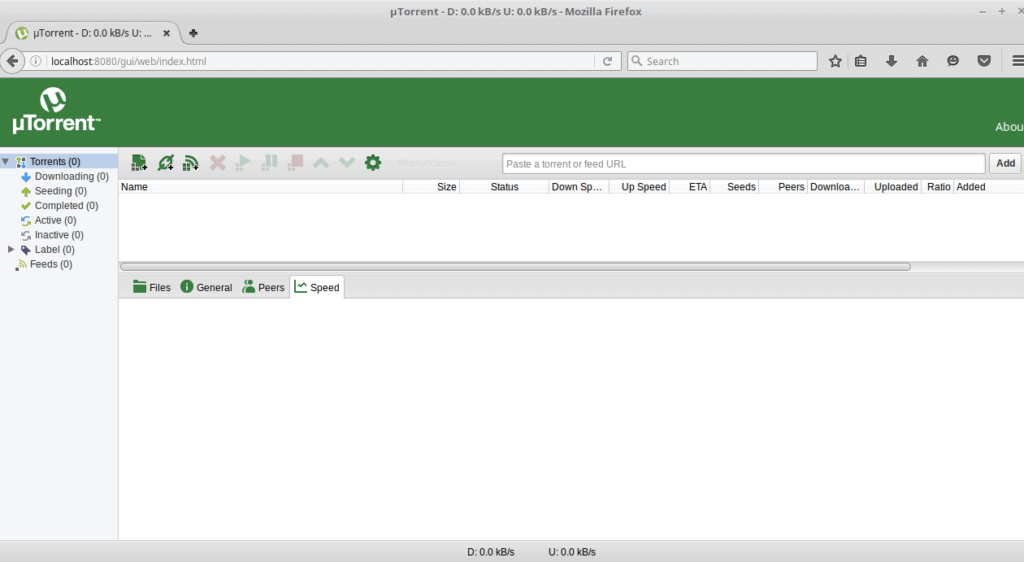
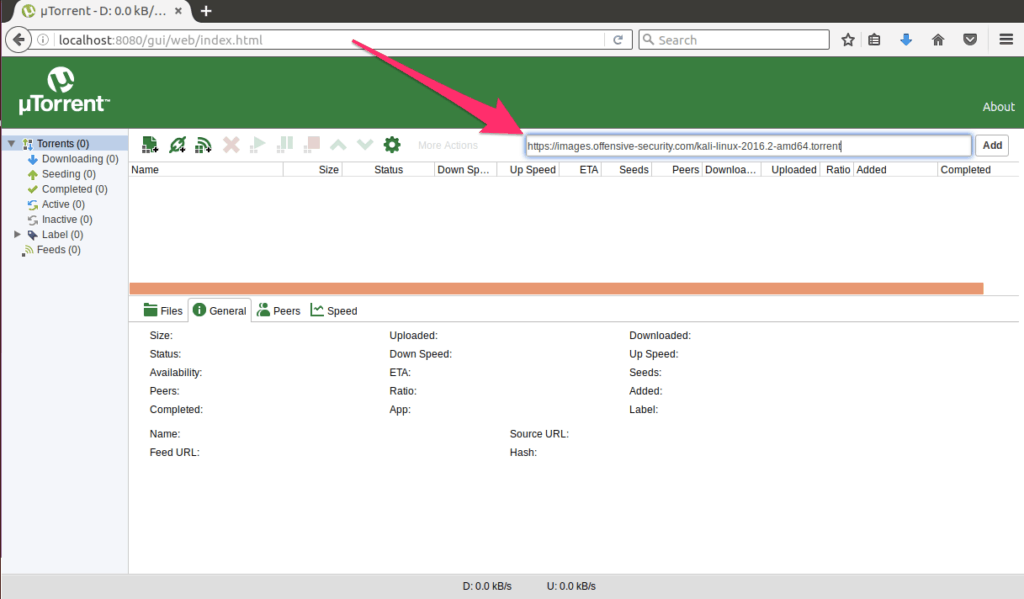
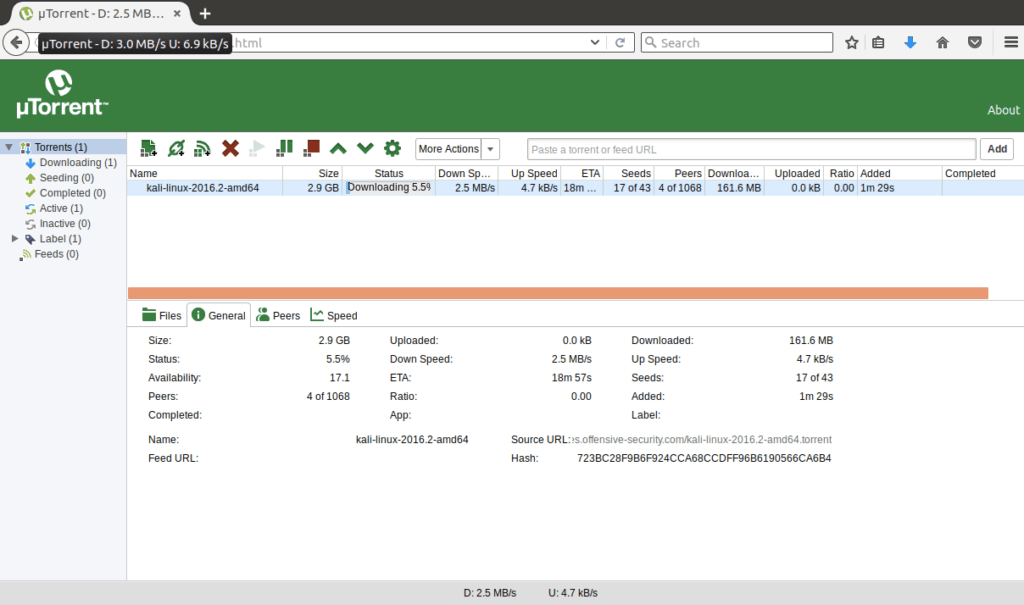
Adding a torrent is as simple as pasting the URL into the torrent URL field and then clicking the “Add” button. There is a slight delay after clicking the “Add” button before the torrent displays in the main window and begins downloading.
Clicking the gear icon displays a number of configuration settings. You can change the login credentials as well as a wide number of other settings.
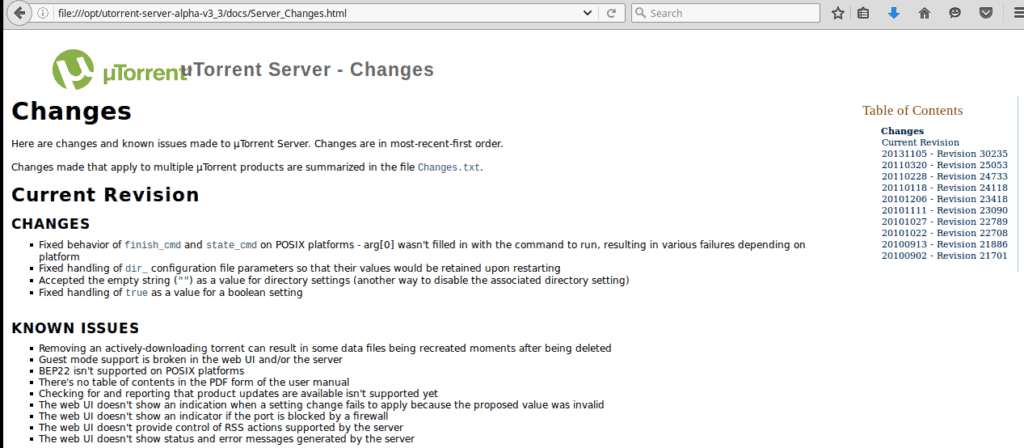
For further information on uTorrent, you can peruse the help documents that are installed in the docs subdirectory, for example in /opt/utorrent-server-alpha-v3_3/docs. There are a variety of formats including HTML. It doesn’t seem possible to load the HTML documents in the uTorrent interface so it’s probably easiest to enter the pseudo address “file://” into another tab on your browser, navigate to the docs folder and load the HTML documents.
Related: What’s the best VPN for Linux?


You forgot to say how to run uTorrent through the VPN without putting everything through it.